Acrylic Shower Base Repair Services Overview
Visitors can learn about acrylic shower base repair options and compare local contractors who provide these services.
- - Residential property owners seeking professional repairs for damaged or worn acrylic shower bases.
- - Homeowners looking to restore or improve the appearance and functionality of their bathroom showers.
- - Individuals comparing local contractors who specialize in acrylic shower base repair services.
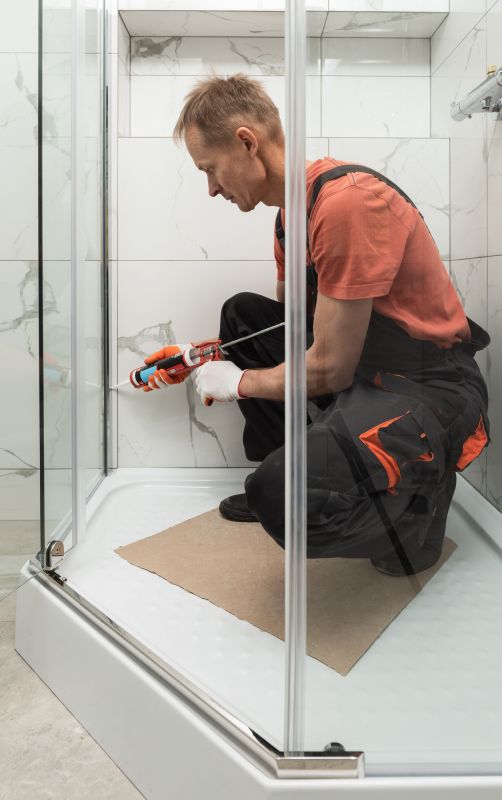
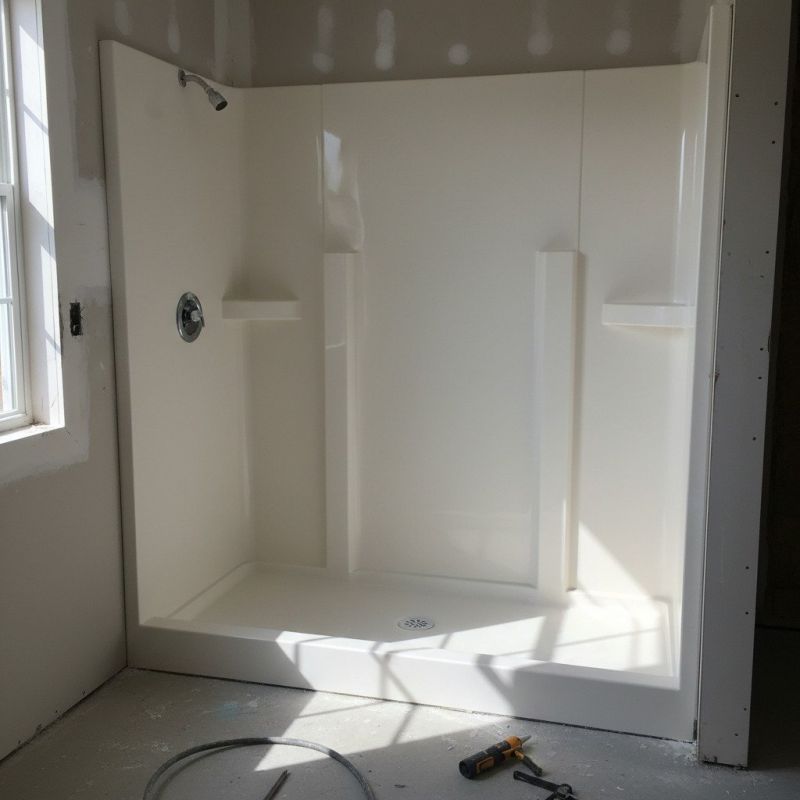
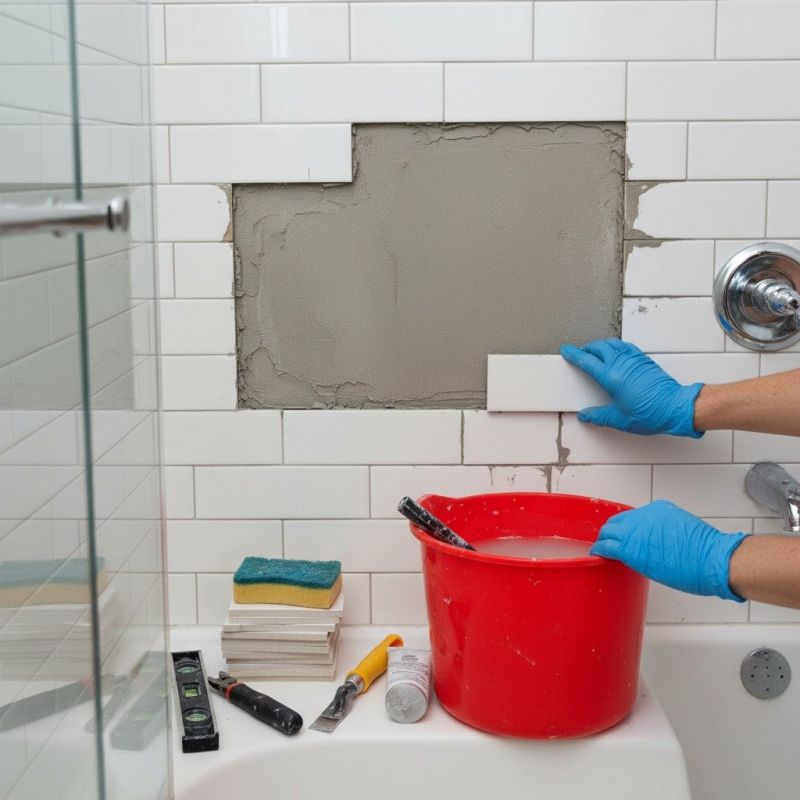
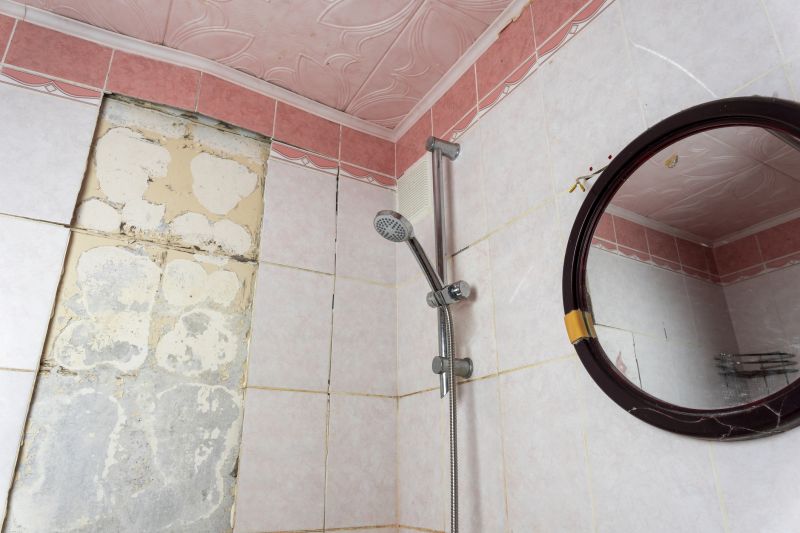
Acrylic shower base repair services are essential for property owners experiencing issues such as cracks, chips, or surface deterioration in their shower bases. These repairs typically involve cleaning the damaged area, applying specialized fillers or resurfacing materials, and restoring the surface to a smooth, uniform finish. Local contractors who specialize in shower base repairs can assess the extent of damage and recommend appropriate solutions to help maintain the functionality and appearance of the bathroom.
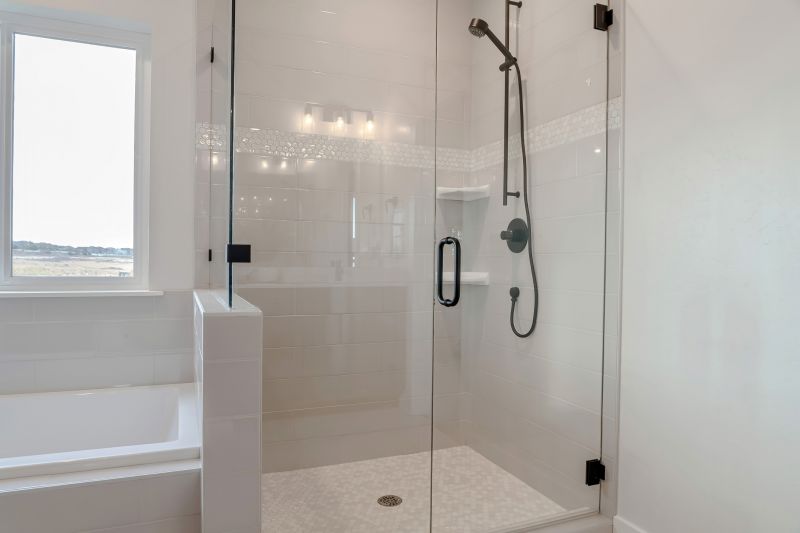
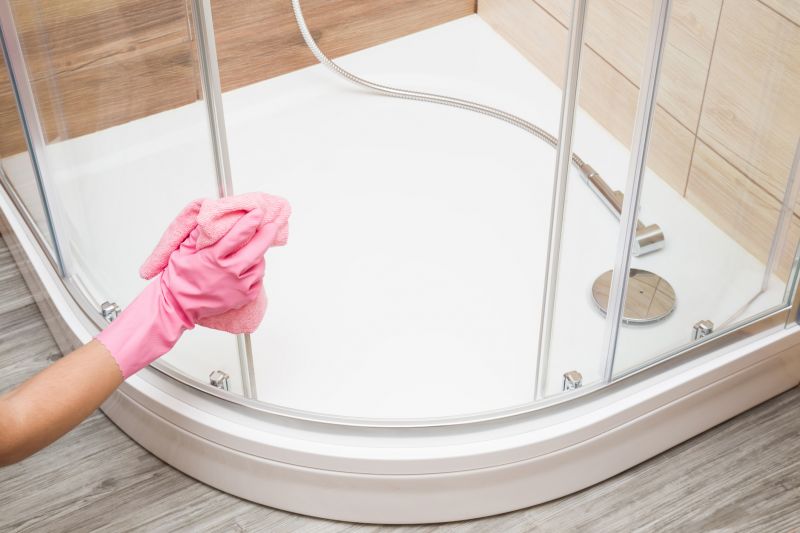
Property owners seeking acrylic shower base repair often turn to nearby service providers with experience in bathroom fixture restoration. These local pros handle a variety of repair jobs, from minor surface fixes to more extensive restorations, ensuring that the shower base is properly restored and ready for use. Connecting with skilled contractors in the area can help find the right professional to address specific repair needs efficiently and effectively.
This guide provides helpful information to understand the process of acrylic shower base repair and what to consider before hiring a service provider. It assists in comparing local contractors and understanding the basics of the work involved. The goal is to help visitors gather the knowledge needed to connect with qualified local service providers for their repair needs.